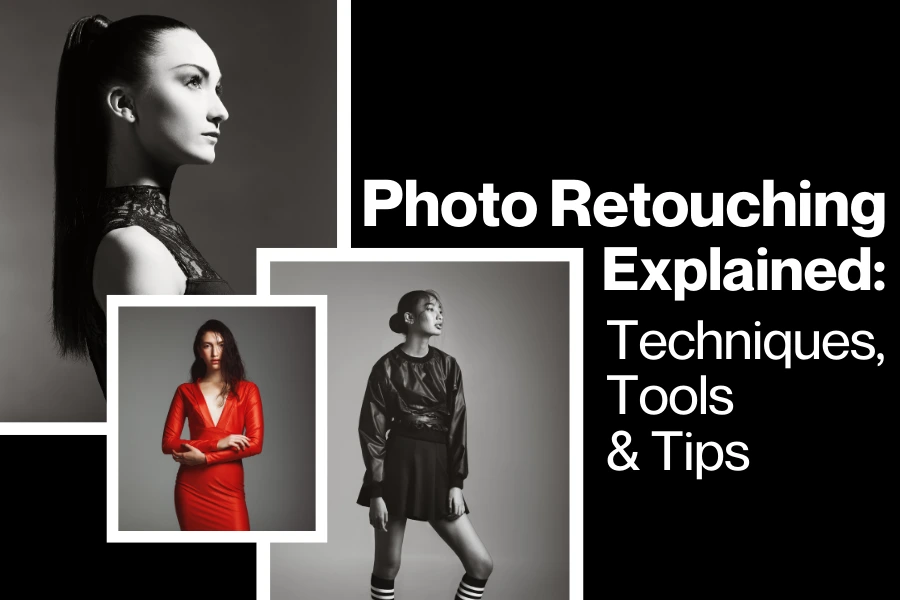
Photographic retouching is among the major tasks in post-production processes. It focuses on editing an existing image to achieve the impending final output, altering the foundation of digital imaging. Within this approach, an image is manipulated by the retouchers to make small local changes.
As a necessity rather than an indulgence, perfect images have become mandatory in e-commerce and digital advertising. It goes without saying that knowing, what photo retouching is, and learning how to perform it skillfully, is very important for photographers, designers, and business enterprises. It is no secret that there are many tools and techniques involved, the guide will deal with most of them and provide some answers to the most common concerns.
In the contemporary world, professional retouching is required in most photographs, be it commercial – portraits and models or e-commerce product photos and real estate listings, personal – wedding shoots, and many others. Therefore, came the technique of retouching the photos to beautify them. These sources are developed to help beginners or advanced users attempt to produce extraordinary outcomes.
What is Photo Retouching?
Photo retouching is the process of improving images by correcting imperfections and enhancing details to achieve a polished, professional look. It involves eliminating flaws and improving stunning qualities. It removes flaws such as blemishes, wrinkles, uneven skin tones, or distracting elements. Common techniques include color correction, sharpening details, and adjusting lighting to enhance the overall quality and appeal of the photo.
Retouching is known as a photo manipulation technique used by photo editing software and tools to enhance. This process is widely used in industries like fashion, advertising, and e-commerce. In these industries, high-quality visuals are essential to attract and engage audiences.
Retouching can transform raw, unrefined images into stunning works of art, making it an invaluable tool for photographers and designers. By combining technical precision and creativity, photo retouching not only refines the visual aspects but also aligns the image with its intended purpose. It is an essential step for impactful, flawless imagery.
Why is Photo Retouching Essential?
For a photographer’s work, photo retouching plays vital in enhancing the visual appeal and overall quality of images. As scientific studies show, the human mind is naturally drawn to symmetry, balanced composition, and vibrant colors. These kinds of elements activate neural pathways associated with aesthetic pleasure. Retouching helps optimize these aspects.
In professional photography, especially in industries like fashion, advertising, and e-commerce, retouching ensures that products, models, or scenes look their best. For instance, studies show that 67% of online consumers rely on image quality to make purchase decisions. By eliminating imperfections like blemishes, shadows, or color imbalances, retouching creates visually compelling images that drive better engagement and sales.
Retouching also ensures consistency. This is particularly essential for branding, where uniform tones, lighting, and style convey professionalism and reliability. Moreover, advanced retouching techniques like frequency, separation, and dodge & burn can amplify textures and details without compromising authenticity.
In essence, photo retouching transforms a raw image into a polished masterpiece, blending artistic sensibility with scientific precision. It’s not just about elegancy, it’s about creating impactful visuals that communicate effectively and leave lasting impressions.
Types of Photo Retouching:
Photo retouching is an essential aspect of modern photography, enhancing image quality and making visuals more appealing. Below is a detailed breakdown of the various types of photo retouching services that cater to different industries and purposes.
Beauty & Cosmetic Image Retouching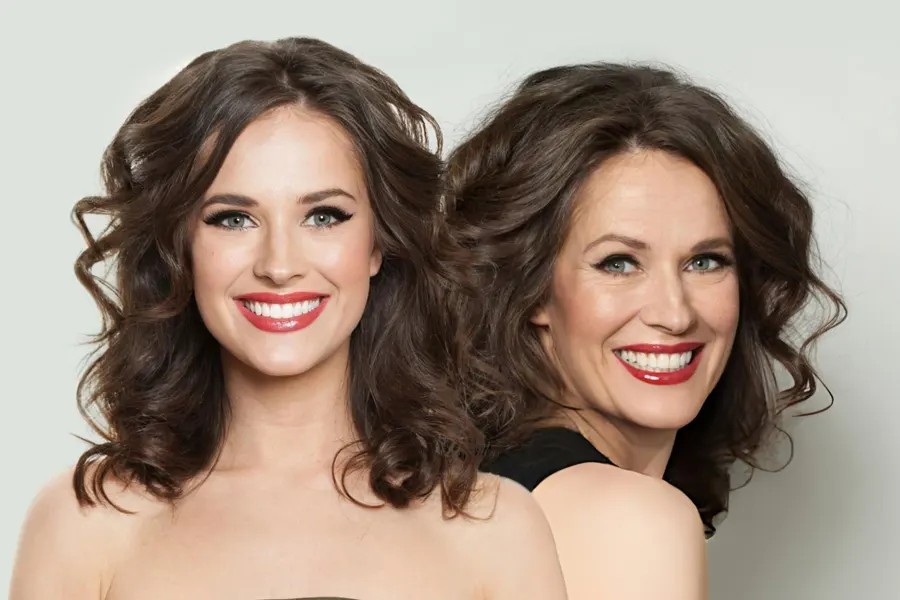
This type of retouching is specially designed for the beauty industry. It focuses on refining makeup, improving skin texture, and highlighting facial features for advertisements.
Body Retouching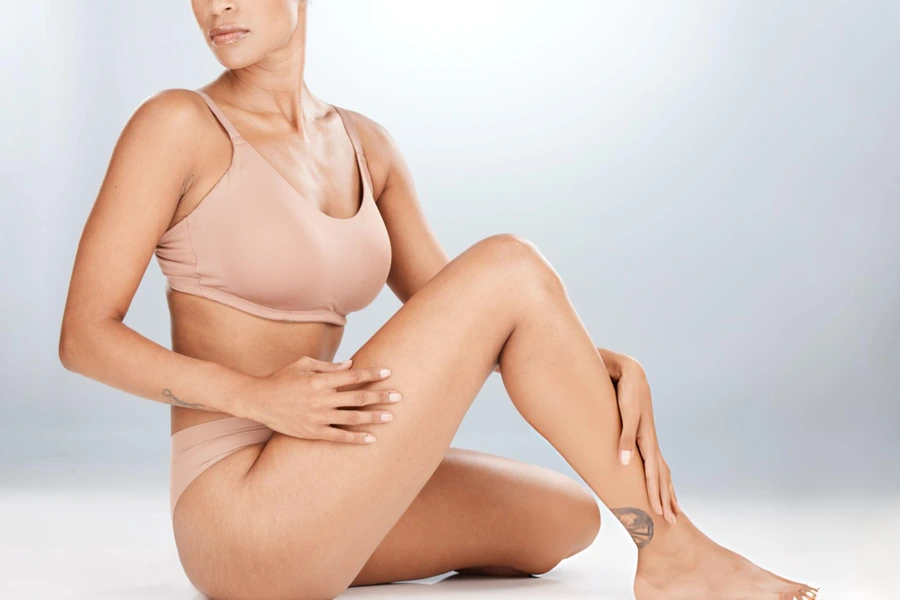
Body retouching involves contouring and reshaping body parts to achieve a proportionate and visually pleasing image. It’s commonly used in fashion photography and personal branding.
Skin Texture Retouching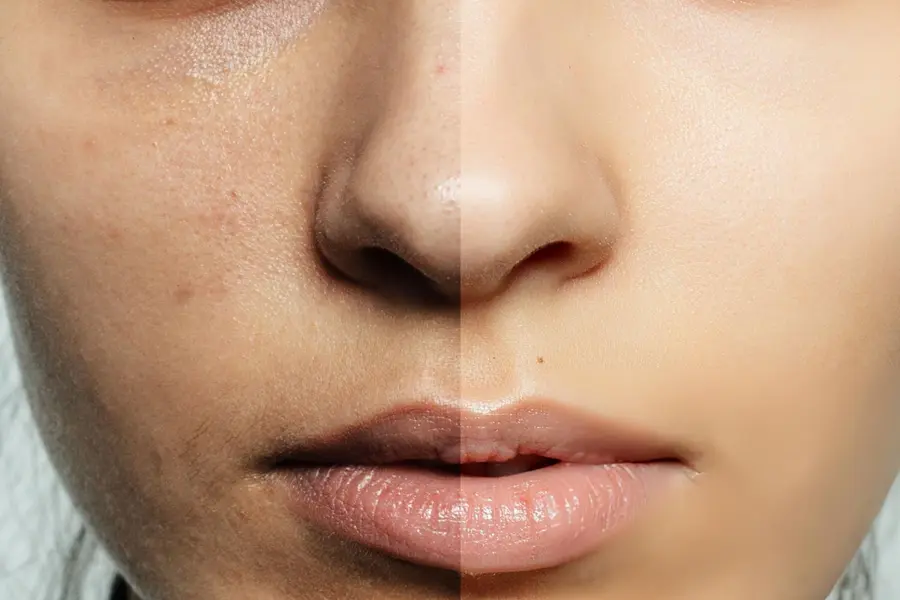
Skin retouching enhances skin quality by removing blemishes, smoothing wrinkles, and balancing skin tones while maintaining a natural look.
Hair Refining & Retouching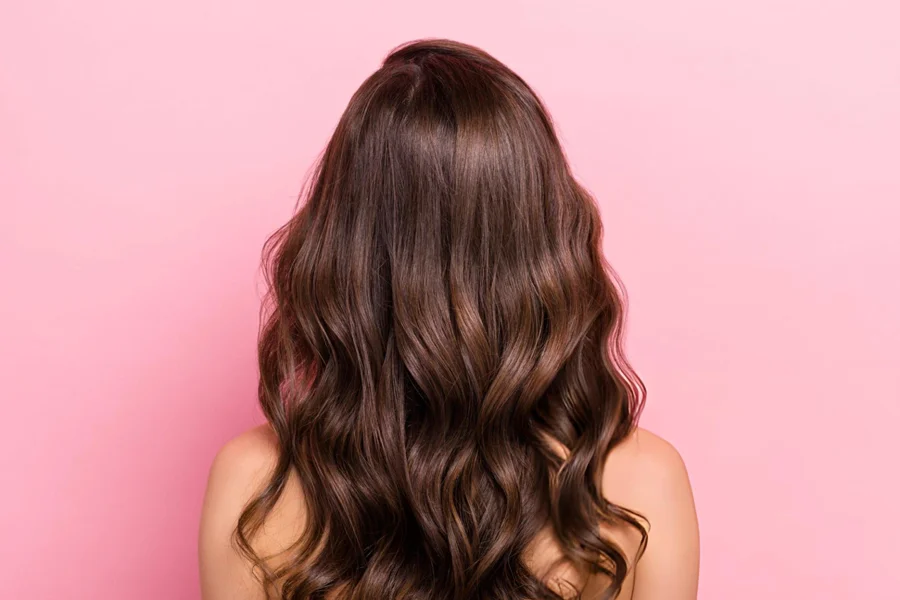
Hair retouching focuses on tidying stray hairs, adding volume, and improving texture to make hairstyles look polished and professional.
Makeup Retouching & Balancing
This technique refines makeup in photos by enhancing colors, balancing tones, and ensuring the application looks smooth and flawless.
Glamour Retouching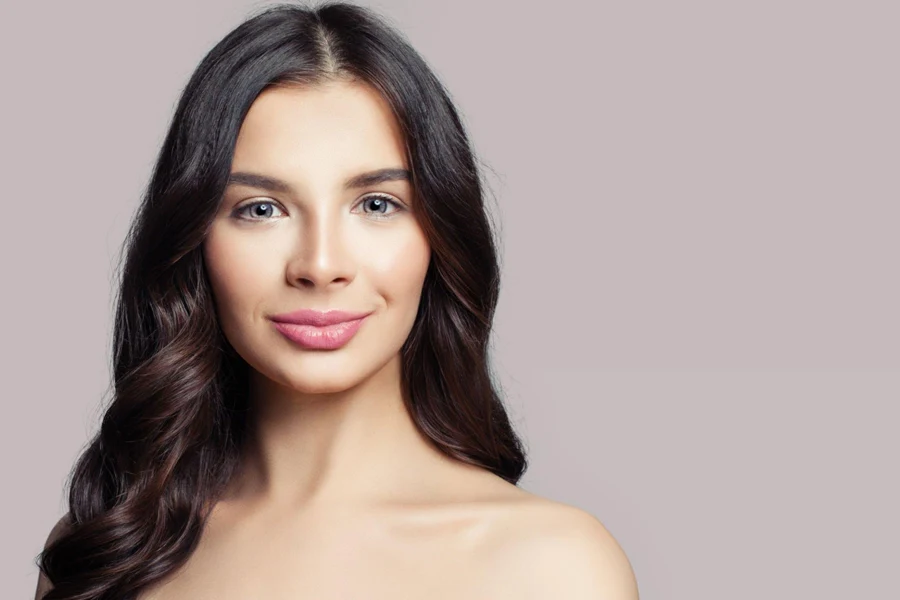
Glamour retouching brings out the allure in photos by enhancing lighting, shadows, and highlights, creating a captivating aesthetic.
Premium/High-End Retouching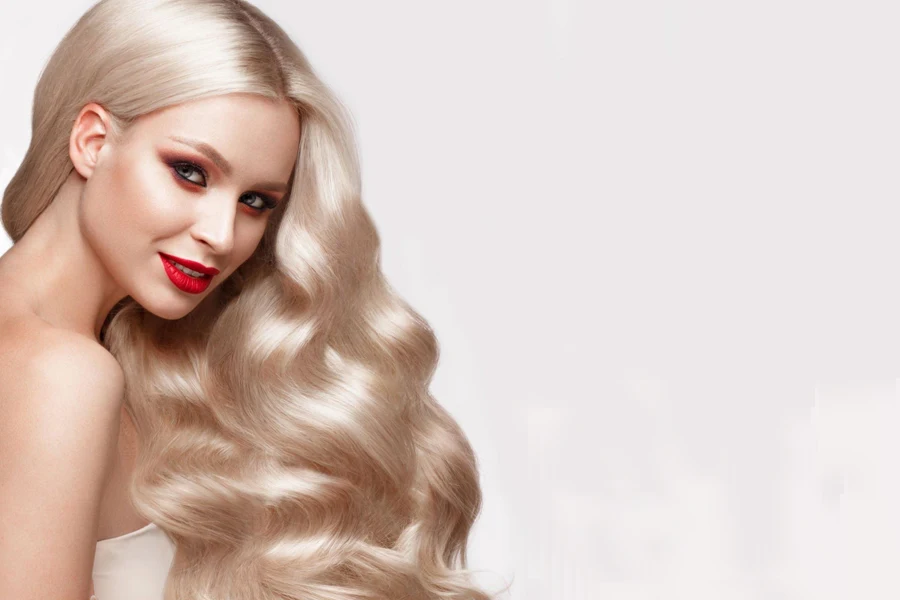
High-end retouching focuses on creating flawless images by enhancing intricate details. This is commonly used for luxury brands, magazine covers, and fine art photography.
it involves removing imperfections, adjusting lighting, and enhancing textures to produce stunning visuals.
Portrait Retouching
Portrait retouching involves improving facial features while maintaining natural expressions. This method refines skin tone, removes blemishes, and enhances eyes and smiles, making it perfect for family portraits and individual shots.
Professional Headshots Retouching
Headshot retouching is tailored for corporate and professional purposes. It emphasizes sharpening facial details, perfecting skin tones, and achieving a polished yet natural look suitable for resumes, LinkedIn profiles, and professional websites.
Commercial Retouching
Commercial retouching involves creating compelling images for marketing campaigns. It includes adjusting lighting, sharpening details, and adding creative effects to convey a brand’s story effectively.
Fashion Retouching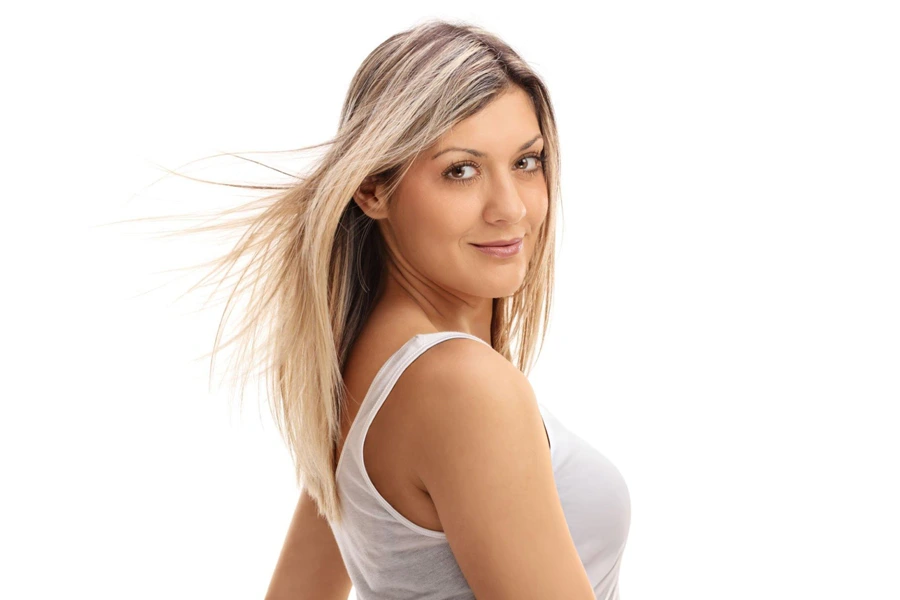
This technique is dedicated to the fashion industry. It ensures images have perfect skin, vibrant colors, and sharp textures. It often includes reshaping elements to fit editorial and advertising standards.
Model Retouching
Model photo retouching enhances the overall appearance of professional models by focusing on body contours, makeup, and clothing textures, making it ideal for magazines and portfolios.
Editorial Retouching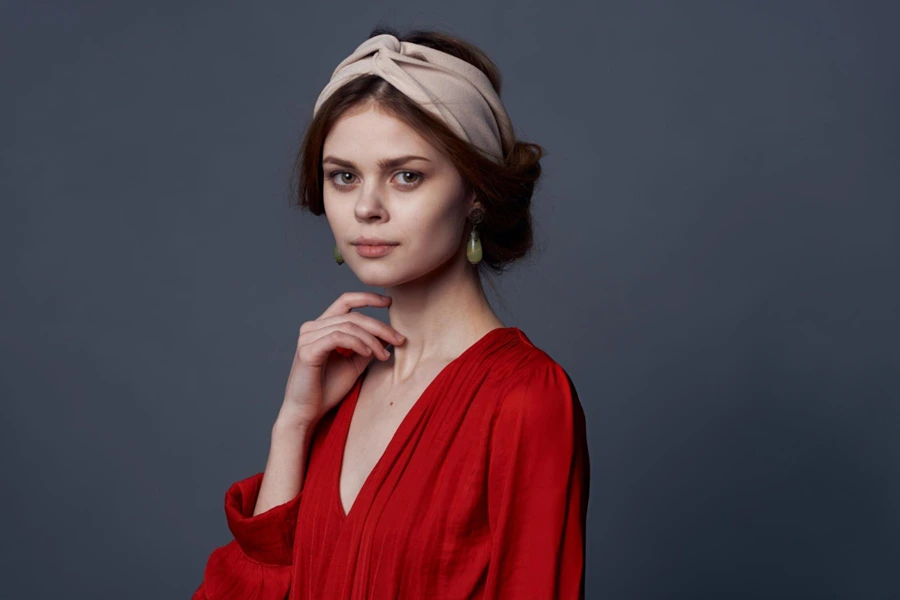
Editorial retouching prepares photos for publication by emphasizing visual storytelling. It involves color grading, detail enhancement, and ensuring consistency across images.
Product Image Retouching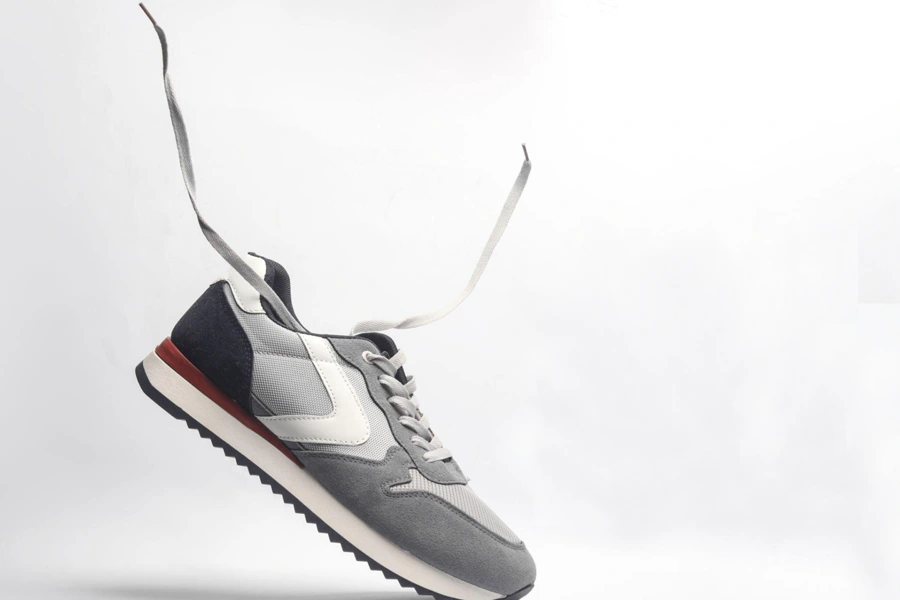
E-commerce retouching ensures product images look appealing and consistent across online platforms by refining colors, removing backgrounds, and adding shadows or reflections.
Real-Estate Image Retouching
Real estate retouching highlights property features by adjusting lighting, improving perspectives, and enhancing colors to make listings more attractive.
Automobile Images Retouching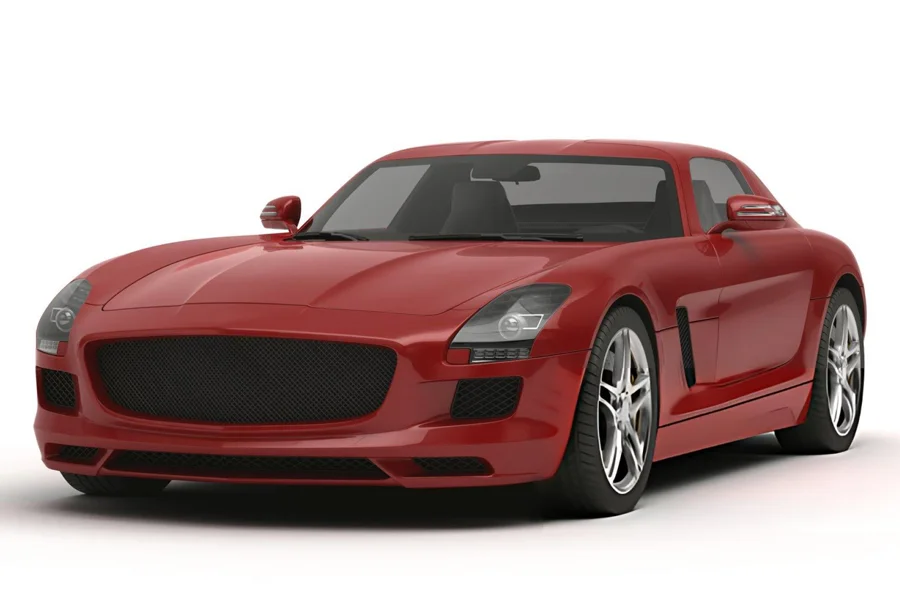
This retouching specializes in enhancing vehicle images by adjusting reflections, polishing surfaces, and improving color tones for advertisements and brochures.
Wedding Photo Retouching
Wedding retouching captures the magic of special moments by refining lighting, smoothing skin tones, and enhancing details in bridal and groom portraits.
Newborn Image Softening
Newborn retouching gently enhances baby photos by smoothing skin, balancing tones, and creating a soft, warm aesthetic that emphasizes innocence and charm.
Each type of photo retouching requires specific techniques tailored to the desired outcome. By understanding these categories, photographers, and businesses can select the most suitable services to meet their needs.
What Are the Key Elements of Photo Retouching?
Photo retouching is a detailed process that eliminates flaws. This magnifies the image quality and improves image details. Below, you’ll find the key aspects of photo retouching for visual consistency.
Skin Retouching
Blemish Removal: Removes imperfections like acne, scars, and blemishes while preserving natural skin texture.
Smoothing Skin: Uneven skin tones can create discoloration. To reduce this and minimize pores, editors use techniques like frequency separation.
Wrinkle Reduction: Removing or softening wrinkles is a must for a youthful look. This makes the skin look natural, without making it artificial.
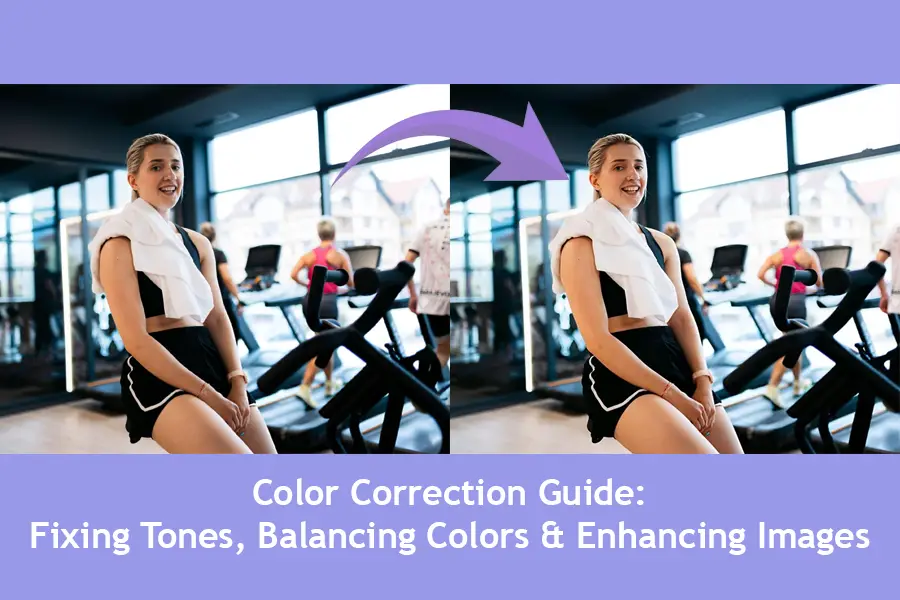
Color Correction
White Balance Adjustment: This gives accurate color temperature for a natural look.
Saturation & Vibrance: Enhancing or toning down colors to create a balanced image.
Color Grading: Applying stylistic tones and hues to evoke specific moods or aesthetics.
Object Removal and Cloning
Unwanted Objects: Removing distractions like stray hairs, wires, or dust particles.
Cloning: Use surrounding pixels to cover up any flaws or gaps.
Background Editing
Blurring: Adding a depth-of-field effect to isolate the subject.
Cleaning Up: Remove distracting elements like stains, reflections, or clutter to make it appealing.
Replacement: Change the background entirely to create a more fitting or visually appealing scene.
Light and Shadow Adjustments
Highlight Enhancement: Brightening key areas to draw attention to the subject.
Relighting: Adding artificial shadow or light to improve the overall composition.
Shadow Recovery: Lifting dark areas to reveal hidden details.
Sharpening and Detail Improvement
Edge Refinement: Increasing the sharpness of edges to add clarity.
Texture Improvement: Highlighting intricate details like fabric patterns, hair strands, or jewelry.
Teeth and Eye Retouching
Teeth Whitening: Brightening and correcting teeth color for a clean and natural look.
Eye Retouching: Enhancing the brightness, sharpness, and color of eyes to make them stand out.
Red-Eye Removal: Correcting red-eye caused by camera flash.
Hair Retouching
Stray Hair Removal: Removing hair flyway’s and messy strands.
Hair Volume Adjustment: Adding or Removing volume for a more balanced appearance.
Color Correction: Adjusting hair tones to match the overall aesthetic of the image.
Makeup Enhancement
Digital Makeup: Adding or enhancing makeup for more prominent facial features.
Lip Retouching: Refining lip color and shape to achieve a polished look.
Body Contouring
Shape Adjustments: Refining body proportions to achieve a desired look.
Skin Tightening: Smoothing out creases in clothing and skin for a refined silhouette.
Noise Reduction
Grain Removal: Reducing digital noise for a cleaner image, especially in low-light photos.
Lens Correction
Perspective Adjustments: Fixing distortion caused by wide-angle lenses.
Chromatic Aberration Removal: Correcting color fringing along edges.
Enhancing Highlights and Glow
Sunlight Effect: Adding or enhancing natural lighting effects.
Glow Effects: Subtle enhancements to skin or objects to add vibrance.
Creative Effects
Filters: Applying stylistic filters for a specific mood or aesthetic.
Artistic Retouching: Adding flares, textures, or overlays to create a unique artistic feel.
Final Touches and Export
Consistency Checks: Check all edits are cohesive across multiple images in a set.
Proper File Format: Exporting images in high-quality formats suitable for their intended use (e.g., JPEG, TIFF).
Photo retouching combines technical skill and artistic vision to transform raw images into visually captivating masterpieces. It’s an essential process for creating polished, professional results that meet industry standards.
Comprehensive Guide to Photo Retouching Techniques: Tools and Methods Explained
Photo retouching is a powerful post-production process that refines and enhances images, making them visually appealing and professional. Below is a detailed guide to the most commonly used photo retouching techniques, including their purposes and how to apply them effectively.
Brightness & Color Adjustment
Adjusts overall brightness, contrast, and color balance to improve image clarity.
How to Use: Use tools like Levels or Brightness/Contrast sliders in Photoshop to bring out natural tones and avoid overly dark or washed-out areas.
Curves Adjustment
Precisely controls brightness and contrast through Tonal mapping.
How to Use: Create an S-curve in the Curves panel for contrast enhancement or adjust individual RGB channels for color grading.
Dodge & Burn
Improve highlights and shadows to add depth and dimension.
How to Use: Use the Dodge tool to brighten specific areas and the Burn tool to darken others. This method is often applied to facial features for a sculpted look.
Hue & Saturation
These enhance and modify specific colors in an image.
How to Use: Adjust the Hue/Saturation panel to make colors pop or tone them down, depending on the desired mood.
Frequency Separation: Always separate texture and color layers for advanced skin retouching.
How to Use: Split the image into high and low-frequency layers to work on skin smoothing and blemish removal without affecting the texture.
Wrinkle Removal
Removes or softens wrinkles while retaining skin’s natural texture.
How to Use: Combine the Clone Stamp Tool with skin smoothing methods like Frequency Separation.
Spot Healing
This method quickly removes flaws like spots, acne, or dust.
How to Use: Use the Spot Healing Brush Tool in Photoshop; simply click on the blemish for instant correction.
Blemish Removal
Removes imperfections like scars, flecks, or smudges.
How to Use: Use the Spot Healing Brush tool for detailed corrections.
Object Removal
Removes unwanted objects or distractions.
How to Use: Use the Content-Aware Fill tool or Clone Stamp to remove those unwanted elements.
Eye Swap
Replaces one eye with another from the same or different image.
How to Use: Use the Lasso Tool to select and align the replacement eye, then blend it using Layer Masks.
Eye Retouching
Improves the brightness, sharpness, and color of eyes.
How to Use: Use Dodge and Burn for highlights and shadows, and sharpen the iris with Unsharp Mask.
Skin Smoothing
Softens skin while maintaining its texture.
How to Use: Use Frequency Separation or skin-specific plugins to balance texture and smoothness.
Head Swap
Replaces a subject’s head with another from a different photo.
How to Use: Align the new head using transform tools and blend using Layer Masks.
Stray Hair Removal
Removes flyaway hair for a neat appearance.
How to Use: Use the Clone Stamp Tool or Spot Healing Brush for precise removal.
Braces Removal & Teeth Whitening
Removes braces or brightens teeth for a cleaner look.
How to Use: Use the Clone Stamp Tool for braces removal and adjust Hue/Saturation to whiten teeth.
Toning
Adds warmth or coolness to an image.
How to Use: Adjust the Color Balance or use gradient maps for artistic tones.
Digital Makeup
Improves or adds makeup for a polished look.
How to Use: Use layers and brushes to add eyeliner, blush, or lipstick digitally.
Clone Stamp Tool
Copies pixels from one area to another for precise corrections.
How to Use: Use this tool for removing objects, fixing textures, or repairing damaged areas.
Glare Removal
Reduces reflections on skill, glasses, or other surfaces.
How to Use: Use the Patch Tool or reduce highlights using Curves.
Reflection Control
Removes or enhances reflections in surfaces like water, glass, or mirrors.
How to Use: Use Clone Stamp or Layer Masks for precise adjustments.
Shadow Work
Includes or removes the shadows for better depth.
How to Use: Use Dodge and Burn or adjust shadow sliders in Camera Raw.
Noise Reduction
Reduces graininess caused by low light or high ISO.
How to Use: Apply the Noise Reduction filter in Photoshop or Lightroom.
Liquify Effect
Allows for artistic or functional reshaping of elements.
How to Use: Use the Liquify Tool to adjust facial features, smooth edges, or create dramatic effects.
Slimming Edits
Adjust body proportions subtly for aesthetic purposes.
How to Use: By using the Liquify Tool, editors can carefully maintain natural proportions.
Background Enhancement
Improve or change the background for better focus on the subject.
How to Use: Use Blur Effects. Content-Aware Fill, or replace backgrounds entirely.
Photo Reshaping
Adjusts proportions of objects or people for aesthetic or functional purposes.
How to Use: The Liquify Tool for slimming edits, facial reshaping, or correcting distortions.
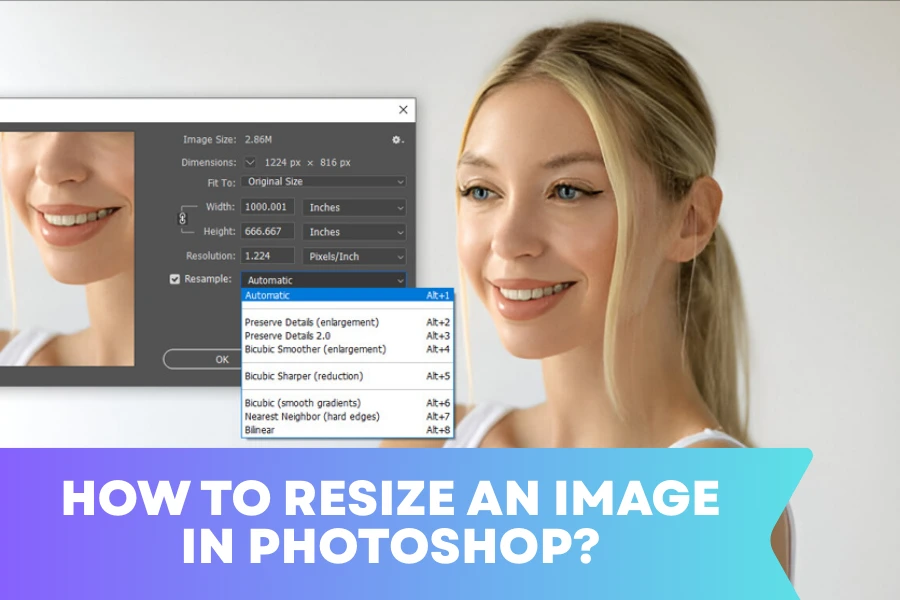
Resizing
By adjusting the image size for various platforms or print requirements.
How to Use: Use the Image Size tool in Photoshop and ensure resolution settings match the intended use.
Advanced Artistic Effects
Adds creative touches like lens flares, overlays, or textures.
How to Use: Use blending modes, gradient layers, or filters for stylistic effects.
By mastering these techniques, you can transform any image into a polished and visually striking masterpiece. Photo retouching combines artistic vision with technical skills, ensuring every detail is flawless and professionally refined.
Top Photo Retouching Software for Beginners & Professionals: High-End & Budget-Friendly Options
Photo retouching requires the right tools to achieve professional results. Whether you’re a beginner or a professional, selecting the right software depends on your skill level, budget, and specific needs. Below, you’ll find a list of the most popular photo retouching software, categorized by their use cases and affordability.
High-End Software for Professionals
These tools offer advanced features, precision, and versatility for experts who demand the best.
| Software Names | Descriptions |
| Adobe Photoshop |
Professionals Use: The industry standard, Photoshop provides an extensive range of tools for advanced retouching, including frequency separation, dodge and burn, and skin smoothing. Photoshop features Layer-based editing, advanced masking, and AI-powered tools like content-aware fill. The cost is subscription-based. It starts at $20.99/month. This is used for high-end photo editing, creative retouching, and complex compositions. |
| Capture One |
This software is known for its color grading and tethering capabilities. Fashion and product photographers highly preferred this software. Unlike Photoshop, Capture One has superior RAW file processing options with precise color tools and advanced layer-based adjustments. This is also a subscription-based software that is not as expensive as Photoshop. It starts at $14/month. They are known for color-focused retouching and tethered shooting. |
| Affinity Photo |
Similar to Photoshop, Affinity Photo is also a powerful alternative. This also offers similar tools without the subscription fee. Affinity Photo Features Layer editing, retouching tools, and excellent performance on large files. This is a one-time payment-based software. Editors have to pay an amount of $69.99. Professionals who want a Photoshop alternative with a one-time payment. |
Budget-Friendly Software for Beginners
These options are cost-effective and user-friendly, making them ideal for newcomers.
| Software’s Names | Descriptions |
| GIMP (GNU Image Manipulation Program) |
An open-source software alternative to Photoshop with robust editing capabilities. GIMP features basic retouching tools, layer editing, and add-on plugins for various functionality. This is a free software for beginners. This is best for beginners exploring photo retouching without an upfront investment. |
| Canva |
Simple drag-and-drop functionality for quick edits. This doesn’t provide the same functionality as Photoshop. Canva features basic photo adjustments, filters, and an easy-to-use interface. Canva is free, but premium features start at $12.99/month. This software is best for social media graphics and quick retouching. |
AI-Powered Tools for Quick Retouching
These tools leverage artificial intelligence to streamline the retouching process.
| Software’s Names | Descriptions |
| Luminar Neo |
AI tools can refine skin tones, remove the background, and sky replacements. This is a one-click editing, as it comes with advanced masking. This is an innovative software that has a subscription-based payment system. This starts at $59/year. This software is not best for in-depth retouching and editing. It is best for quick and automated retouching for time-sensitive projects. |
| RetouchMe |
A mobile AI app with simple editing capabilities. This is perfect for quick edits. This app features blemish removal, skin smoothing, and body reshaping. The app is a pay-per-edit model. This is best for beginners and casual users who need quick results. |
Specialized Software for Specific Needs
For specialized or niche requirements, these tools excel in targeted retouching.
| Software’s Names | Descriptions |
| DxO PhotoLab |
If the photo needs lens corrections or to reduce noise, this software is perfect for this. The software can process advanced RAW photos. Also, this features local adjustments. The price is quite expensive, starting at $139. This is best for landscape and architectural image retouching. |
| PortraitPro |
This is ideal for portrait photos. The software comes with AI-driven tools that are specially built for face and skin retouching. The AI tools feature wrinkle removal, skin tone enhancement, and facial reshaping. The price starts at $44.95. For portrait photographers, who are looking for fast and reliable retouching solutions. |
Starting with free tools such as GIMP or advancing to professional ones like Photoshop or Capture One, there exists a particular platform for everybody’s needs. Professionals can use high-end tools to perform complex edits while learners can pick inexpensive alternatives to grasp the fundamentals. Select the software compatible with your budget, workflow, and skills.
Avoiding Common Mistakes in Photo Retouching
Photo retouching improves images, but any small mistakes can ruin the final look. Below you’ll find the common errors and how to fix them easily (A Simple Guide)
Over-Smoothing the Skin: Many beginners blur the skin too much, making it look unnatural.
Solution: Use Frequency Separation to retain skin texture while softening blemishes.
Overusing Dodge & Burn: Dodge means Brightening the picture and burn means Darkening the picture. This mainly used to add depth to the images. As you can imagine excessive use can create unrealistic lighting.
Solution: Apply with a soft brush and adjust opacity to blend naturally.
Color Imbalance: Incorrect color tones make the image look dull and unnatural.
Solution: Use Curves, Hue/Saturation, or White Balance Adjustments to correct the tones properly.
Over-Whitening Teeth & Eyes: Brightening teeth and eyes too much can look fake.
Solutions: Reduce the Opacity of whitening layers and avoid pure white adjustments.
Bad Object Removal: Messy cloning or healing can leave visible patterns.
Solution: Use the Clone Stamp Tool carefully and blend surrounding textures.
Poor Background Edits: Bad cutouts and uneven blurring can ruin an image.
Solution: Use Layer Masks and Refine Edges to keep edits clean.
Excessive Liquify Adjustments: Over-slimming bodies or reshaping faces can distort proportions.
Solution: Make subtle changes and always check before-after comparisons.
Ignoring Image Resolution: Working on low-quality images leads to pixelation.
Solution: Always use high-resolution files for professional results.
Final Tip: Always zoom in and out while editing to check details, and take breaks to see your work with fresh eyes.
Photo Retouching Dos & Don’ts
Simple Dos and Don’ts will help you improve your photos if you follow these basic rules. Follow these dos and don’ts to achieve professional results.
| Dos | Don’ts |
| Do Use High-Quality Images: Start with a sharp, high-resolution photo for the best results. | Don’t Over-Smooth the Skin: Avoid making the face look like plastic; try to keep some texture. |
| Do Work with Layers: Always edit on separate layers in Photoshop to keep changes reversible. | Don’t Over-Saturate Colors: Bright colors may look unnatural; keep adjustments balanced. |
| Do Use Frequency Separation for Skin: Smooth skin while keeping natural texture intact. | Don’t Use Too Much Sharpening: Over-sharpening adds noise and ruins image quality. |
| Do Dodge & Burn for Depth: Apply subtle light and dark adjustments to enhance facial structure. | Don’t Overdo Dodge & Burn: Harsh highlights and shadows can ruin natural lighting. |
| Do Maintain Natural Colors: Use Hue/Saturation and Curves to correct tones without overdoing it. | Don’t Overuse Filters: Pre-set filters can make photos look artificial and unprofessional. |
| Do Refine Object Removal: Use Clone Stamp and Healing Brush carefully to blend edits seamlessly. | Don’t Forget About Shadows & Reflections: Retouching should blend naturally with the lighting. |
| Do Enhance Eyes Naturally: Brighten eyes slightly without making them look unnaturally white. | Don’t Resize Without Keeping Proportions: Stretching images can distort faces and objects. |
| Do Keep Teeth Whitening Subtle: Avoid making teeth completely white; aim for a soft, natural shade. | Don’t Ignore the Background: A cluttered or inconsistent background can distract from the subject. |
| Do Use Liquify Sparingly: Slight adjustments work best to maintain realistic proportions. | Don’t Leave Stray Hairs Untouched: Stray hairs can make an image look messy; remove or tidy them carefully. |
| Do Check the Image at Different Zoom Levels: Zoom in for detail work and zoom out to see the full effect. | Don’t Rush the Editing Process: Take your time to refine details and ensure a polished final result. |
Final Tip: Always aim for realistic, high-quality. Less is often more when it comes to professional retouching.
Is Outsourcing Photo Retouching Services Beneficial?
As you know by now, photo retouching is a vital part of producing high-quality visual content, and many businesses are turning to outsourcing to meet their editing needs. Outsourcing can offer this range of benefits that enhance efficiency and reduce costs.
Cost Efficiency & Time Savings
- Save on Overhead: Outsourcing often costs less than hiring in-house staff, as you pay only for the work needed.
- Faster Turnaround: External agencies typically have dedicated teams, which can speed up project completion and free up your internal resources.
Access to Expertise & Advanced Tools
- Skilled Professionals: Outsourcing gives you access to experts trained in advanced retouching methods, ensuring high-quality results.
- Professional Software: Professional services often the latest software and tools, which might be expensive or complex to manage internally.
Flexibility & Scalability
- Adaptable Service: Outsourcing allows you to scale your retouching needs according to project demands- whether it’s a large campaign or occasional updates.
- Focus on Core Business: By delegating the editing process, you can concentrate on strategic initiatives while professionals handle the technical details.
Control & Guidelines
- Quality Control: To avoid instability, you should select a reputable provider with clear communication and a proven track record.
- Clear Guidelines: Establish detailed briefs and expectations upfront to maintain consistency and meet your brand’s standards.
Overall, outsourcing photo retouching services is highly beneficial. It offers cost savings, expert quality, and the flexibility to adapt to changing demands, making it a smart choice for businesses aiming to deliver polished, professional images without the need for extreme in-house resources.
FAQs.
1. How Many Types of Retouching Are There?
There are broadly five to seven types of retouching used today. These include basic adjustments (Exposure, Brightness, Contrast), cosmetic corrections (Skin Smoothing, Blemish Removal), frequency separation for detailed texture work, dodge and burn for adding depth, and advanced methods like object removal and composite retouching.
Additionally, specialized categories such as portrait products, and high-end artistic retouching help cater to diverse needs.
2. What Does Basic Photo Retouching Include?
Basic photo retouching covers essential adjustments that improve overall image quality. This typically involves brightness and contrast correction, color balance tunning, cropping, resizing, and minor blemish or dust removal.
Tools like Curves, Hue/Saturation adjustments, and simple healing brushes are employed to ensure that images appear natural and balanced before any advanced editing is applied.
3. What Is the Main Purpose of Photo Retouching?
The Primary goal of photo retouching is to enhance the visual appeal and clarity of an image. By refining details and correcting imperfections, retouching transforms raw photographs into polished visuals that effectively communicate a message.
Studies show that well-retouched images can increase viewer engagement by up to 40%, highlighting its role in both commercial
and creative fields.
4. Can Beginners Do Photo Retouching?
Yes, beginners can learn photo retouching with a variety of user-friendly software options available today. Many free and budget-friendly programs, such as GIMP, Adobe Lightroom, and even mobile apps. This offers intuitive interfaces and comprehensive tutorials.
With practice and dedication, novices can gradually master more advanced techniques and achieve professional results.
5. How Much Does It Cost to Retouch a Photo?
The cost to retouch a photo varies based on complexity and quality requirements. Basic edits may start around $1 per image of e-commerce, while high-end or detailed work can reach $20 or more per photo.
Bulk pricing options are common and some providers charge on an hourly basis, typically ranging from $10 to $50 per hour,
depending on expertise.
6. Is Lightroom or Photoshop better for Retouching?
Lightroom excels at quick, global adjustments, ideal for batch editing and overall tone correction. In contrast, photoshop offers greater precision with its layer-based editing, advanced masking, and intricate detail controls.
Consequently, professionals often choose Photoshop for high-end, detailed retouching, while Lightroom is favored for efficient, large-scale workflow management.
Conclusion
Photo retouching plays a vital role in enhancing image quality, correcting imperfections, and ensuring visual appeal across various industries, including fashion, advertising, and e-commerce. By using methods such as skin smoothing, color correction, object removal, and sharpening. Retouching helps create professional-grade visuals that capture attention and convey the desired message effectively.
Advanced tools like Photoshop and Lightroom provide professionals with the flexibility to refine details, while AI-powered software has made retouching more accessible for beginners. Whether for personal projects or commercial use, high-quality retouching can significantly improve engagement and brand perception.
However, maintaining a balance is essential. Over editing can result in an unnatural look, diminishing the authenticity of an image. A skilled retoucher understands when to enhance and when to preserve natural elements. Ultimately, photo retouching is an art that combines creativity and technical expertise to transform images into stunning visual masterpieces.
Hadi Zaman is a marketing specialist and content writer who loves tech, story writing, and content creation. With years of experience, he creates easy-to-read content that connects with readers. Inspired by new ideas and personal experiences, Hadi makes complex topics clear and relatable.